Setting Up Files
Standard Posters
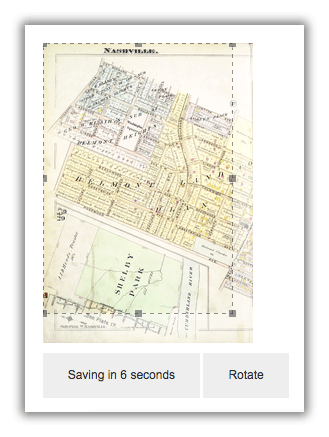
There's no need to set up files for our Standard Posters, as you can use our built in crop tool to crop your image if necessary. This will crop the image to the correct size and aspect ratio to work with the particular size.

If you don't want to crop your image at all, be sure to size it correctly before uploading.
Print Ready Posters
Print Ready posters are generally meant for advanced users - people with some experience with graphics programs that know how to resize images properly. There are 3 scaling options available, which we will give a detailed explanation of each here.
Fit Entire Image

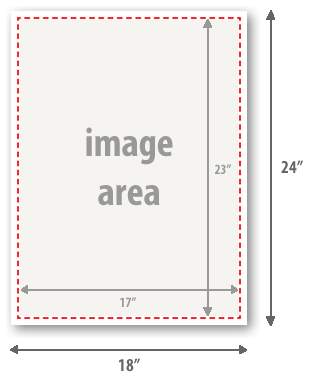
If you don't know what you are doing - you should pick this option. Regardless of the image size or shape, the system will proportionately scale the image to fit within the print area. The print area is defined as the size of the poster, less 1/2" on all sides. For instance, on an 18 x 24 size poster, the image area would be 17" x 23" as illustrated below:

Stretch to Fit
This option is rarely used, but does have important, specific use cases. Regardless of the size of the image, the image will be stretched to fit the image area with 1/8" bleed. This means that if you select the 18 x 24 size, your image will be stretched to 18.25" x 24.25", and .125" will be trimmed off of all 4 sides. This is why it is important to know what you are doing when using this option.

No Scaling - Center Image
This option is most understood and should be chosen ONLY if you completely understand how it works. Regardless of image size, this option basically will only center your image. For example, if you are ordering an 8" x 10" print and your image is 30" x 40" @ 72 PPI, this option will only print the center 8" x 10" portion of this image. So you MUST know the physical size of your image before selecting this option. No refunds or reprints are issued by misuse of the scaling option.
So why would a person want to use this option? One scenario is if you have a print ready file that includes bleed, crop marks and other non printing marks. If you know the size of the final image without bleed, you can upload this image and take advantage of the bleed in your file, as seen below.

The other scenario is that you are uploading an image that is smaller than the actual poster. This may be because you want to trim the poster down yourself, if we don't offer that particular size, for instance, if you wanted a 9" x 22" poster, you can upload a 9" x 22" image up to the 18" x 24" poster. Or, maybe you just want to have a particular margin around your image that we don't offer. Below is a visual reference for what will happen.


